Restricting orders and setting order limits might sound counterintuitive to what we want to achieve from an eCommerce store. However, there are many scenarios when we want to add order limits so that fulfillment and shipping stay within our capacity.
Take the example of a dairy shop. A dairy that produces 50 kg of yogurt daily can’t take more orders than its maximum daily capacity. In this case, it’s better to restrict further orders than take orders you can’t fulfill.
It would also make sense to create some rule so that a single customer is not buying all that 50 kg of yogurt especially when you know you have multiple regular customers.
Another example is an office supply store that sells items as small as a pencil. What if someone orders 1 pencil? How will you pack it up?
In such cases, you would want to create some minimum or maximum order limits so that a customer can only proceed when the order amount is within an acceptable threshold.
So how do you set order limits in WooCommerce?
Step 1: Install the Plugin
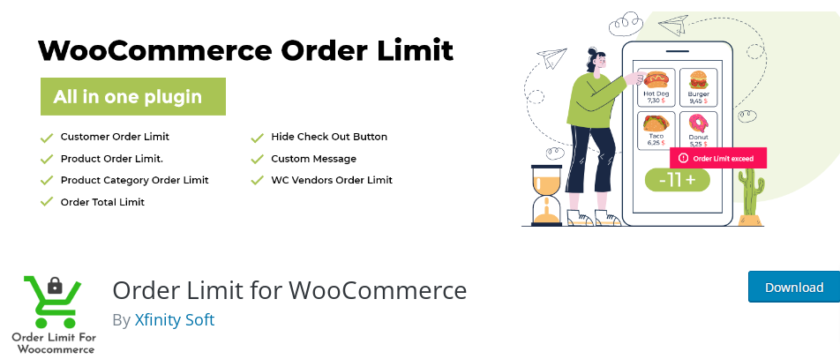
In this post, we’ll show you how to set order limits in WooCommerce using a plugin called WooCommerce Order Limit, which can be found on CodeCanyon.
Once purchased, navigate to Plugins from the side menu on WordPress admin dashboard. Click Add New on the Plugins pages.
Once you are on the “Add New” page, click the “Upload Plugin” button at the top of the page.
From there, you can choose to upload the .zip file of the WooCommerce Order Limit plugin that you downloaded from CodeCanyon. After selecting the file, click “Install Now” to proceed with the installation.
After the plugin has been installed, you will see a notification indicating whether the installation was successful. To complete the setup, click the “Activate Plugin” link to enable the WooCommerce Order Limit plugin on your WordPress site.
Now that the plugin is activated, you’ll find it listed under your installed plugins.
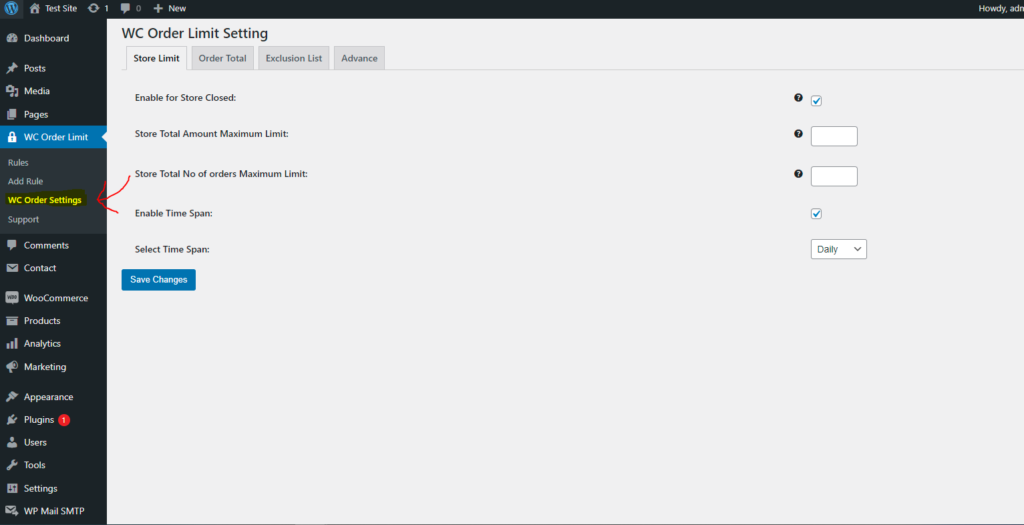
You can configure its settings by navigating to the WC Order Limit option in the WordPress side menu. This is where you can start setting up your specific order limits according to your business needs.
Step 2: Add Order Limits Globally
While you can create rules for individual customers, the plugin also lets you configure global settings like Store Limits and Store Closure, which allow you to set limits on overall orders placed in the store in a specified timeframe.

By enabling store closure, you limit access to the store when the limit is met and show a notification about store closure.
Similarly, you can also add global limits to the cart. This is helpful if you don’t want to configure limits on particular products or product categories but would rather set a limit on the cart total.
For example, when you want to disable checkout when someone’s order is below a certain amount, this option can come in handy.
Explore all the settings and options and find the configuration that works for you.
Here’s the documentation that explains every option and every feature.
Step 3: Create an Order Limit Rule
Click on the Rules option under the WC Order Limits tab. Here, you will find a list of all existing order limit rules. You can edit an existing rule by hovering over the rule name and clicking Edit, or you can create a new rule by clicking the Add Rule button.
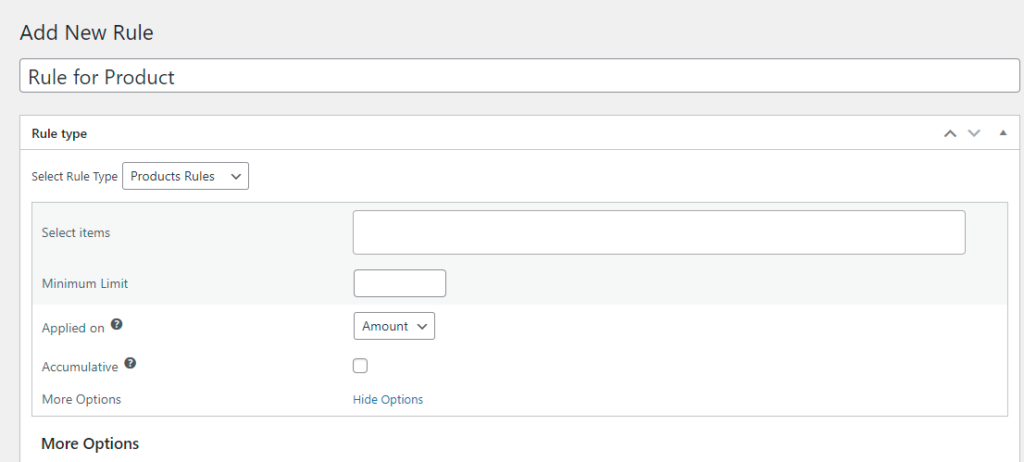
Start by giving your rule a descriptive title that helps you identify the rule’s purpose at a glance.
Select the rule type that best suits your needs. You can choose from Product, Category, or Customer:
- Product Rule: Applies limits directly on specified products.
- Category Rule: Sets limits across an entire product category.
- Customer Rule: Enforces limits based on customer behavior or customer types.

Depending on the rule type selected, specify the appropriate settings:
- Select Items: Choose the products or categories to which the rule will apply. You can select individual products or groups of products.
- Minimum and Maximum Limits: Set the minimum and maximum order limits in terms of quantity or amount. Use the checkboxes to determine whether these limits apply cumulatively across selected products or individually per product.
- Enable Time Span: If applicable, define a time frame (Daily, Weekly, Monthly, Yearly, or Custom) during which the rule is active.
If needed, adjust the advanced settings by clicking More Options:
- Disable Rule: Temporarily disable the rule without deleting it by checking the Disable option.
- Check Previous Orders: Ensure compliance with past orders by selecting None, Current User, or All Users. This setting checks the purchase history to enforce order limits.
- Enable for Specific Users: Apply the rule to specific user types such as Guest Users, Specific Users, Specific Roles, or All Users.
After configuring all necessary settings, click the Publish button to activate the rule. This will enforce the order limits as specified.
By following these steps, you can effectively manage and control the purchasing behavior on your WooCommerce site, ensuring that order volumes remain within the desired thresholds. This helps in maintaining inventory levels, optimizing order processing, and enhancing customer satisfaction.


![Contact Form 7 Formatting in WordPress [How to Do it The Right Way] Contact Form 7 Formatting in WordPress [How to Do it The Right Way]](https://wpdesc.com/wp-content/uploads/2024/07/Contact-Form-7-Formatting-in-WordPress-1024x512.png)
![How to Redirect Contact Form 7 to Thank You Page [2 Easy Ways] How to Redirect Contact Form 7 to Thank You Page [2 Easy Ways]](https://wpdesc.com/wp-content/uploads/2024/07/how-to-redirect-contact-form-7-to-thank-you-page-1024x512.png)
![How to Add reCAPTCHA to Contact Form 7 [2 Easy Steps] How to Add reCAPTCHA to Contact Form 7 [2 Easy Steps]](https://wpdesc.com/wp-content/uploads/2024/07/how-to-add-recaptcha-to-contact-form-7-1024x512.png)

Leave a Reply